Automating Podcast Production Pipelines in Airtable using Zapier
You didn't get into podcasting to manage spreadsheets and remember to hit "upload" on fifteen different platforms. Yet here you are. The magic happens in front of the mic, but the soul-crushing work happens after. The file conversions, the show note formatting, the social media blasts, the analytics logging. It's a time-suck of epic proportions. But what if your tools just... talked to each other? What if they handled the grunt work while you got back to creating? That's the goal. Not just automation, but getting your life back.
Map Your Pain Points in Airtable First
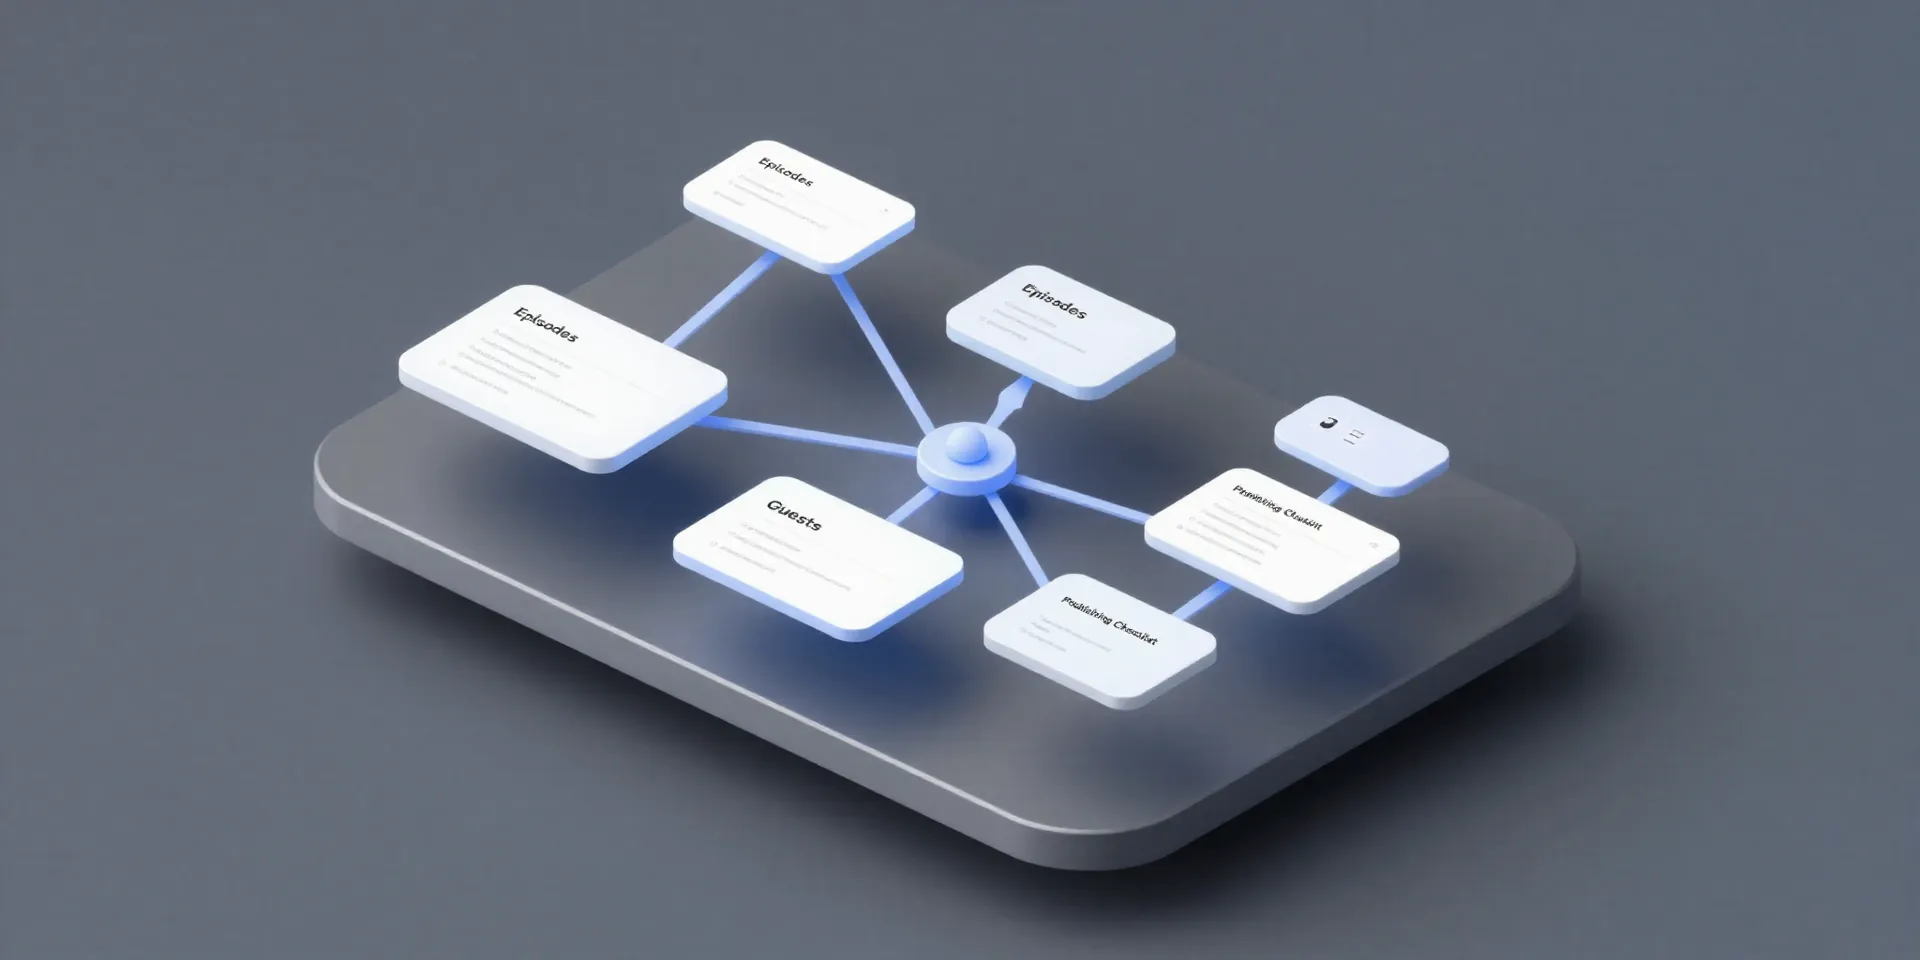
You can't automate chaos. Before you touch Zapier, you need to build your single source of truth in Airtable. Create a base that mirrors your entire process. A table for episode ideas. Another for recording status. One for your guests (with their social links, headshots, bio). The most important table is your Episodes table. This is your command center. It should have fields for everything: recording date, editor's link, final MP3 URL, show notes draft, promo copy, and most critically, a "Publish Status" field. This structure isn't just organization. It's the blueprint for the robot you're about to build.
Zapier is Your Digital Intern
Think of Zapier as your endless enthusiasm, zero-complaint intern. Its only job is to watch for a trigger and then perform an action. It’s stupidly simple, which is its power. You're not coding. You're connecting dots. The "Zap" is the automated workflow. The trigger might be "When a new row is added to the Episodes table in Airtable." The series of actions that follow is your production pipeline, executed automatically. It just moves data and tasks from one app to the next, based on the rules you set. Done right, it works while you sleep.
Building the "Set It & Forget It" Pipeline
Let's wire this up. Here’s a real pipeline you can steal. Your editor finishes the final MP3 and drops it into a specific Dropbox folder. Zapier spots the new file. It creates a new record in your Airtable Episodes table, populating the 'Audio File URL' field. That’s the trigger. Then, the magic begins: Zap #1 takes that MP3 and creates a public share link. Zap #2 uses that link to generate a transcript via Descript and slaps it into the 'Transcript' field in Airtable. Zap #3 takes your pre-written show notes template from Airtable, merges in the guest's name and bio, and posts the whole thing as a draft to your WordPress site. One file drop, and three tedious jobs vanish.
From "Ready to Publish" to Everywhere at Once
The final click is the sweetest to automate. In your Airtable Episodes table, you change the "Publish Status" field from "Ready" to "GO". Zapier is watching. Trigger detected. Your Zap then fires off like a starting pistol: It publishes the drafted WordPress post. It takes the promo snippet from Airtable and schedules tweets and LinkedIn posts. It adds the episode details to your podcast hosting platform via their API. It even logs the publish date and final links back into Airtable for your records. You changed one dropdown. The system did the rest. You’re not just publishing a podcast. You’re deploying content.